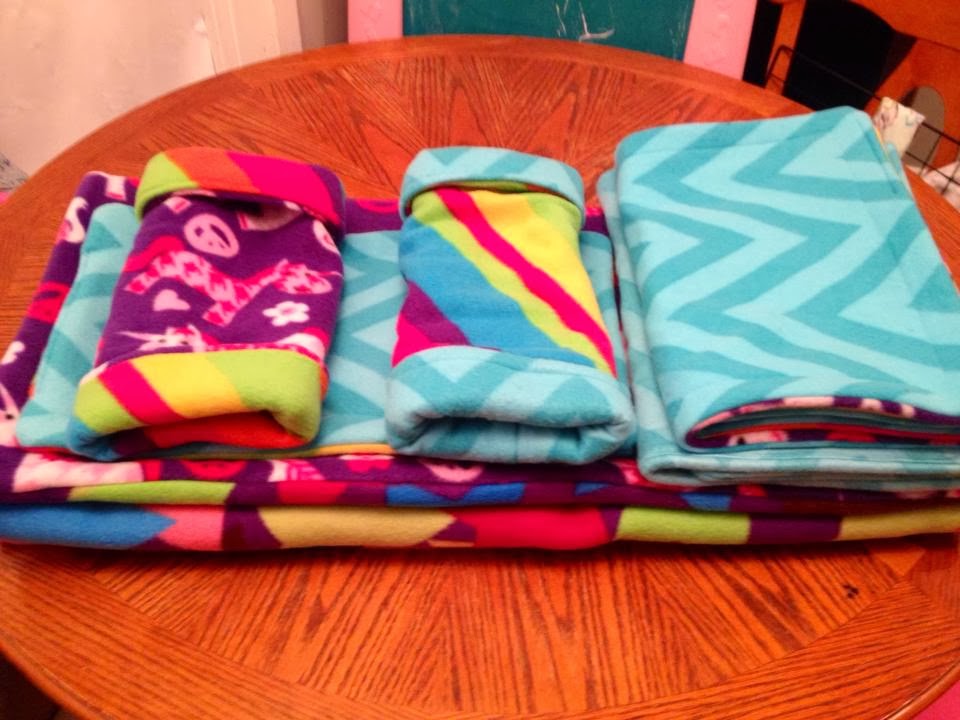
Here is how I do an
Invertible, Reversible & Stuffable TWO uhaul Layered Pillowcase Pad
(with two fold over flaps!)
You can make these any size... for full cage, half cage, homemade flippers, lap pads, patios/lofts, catwalks, bottle pads, potty pads or any other pad you want to make!
The benefits of doing your pads this way:
First, the main reason I am making these this way is because two layers of uhaul in a fully sewn pad (a pad sewn all the way around on four sides) doesn't always get completely dry, which can cause bacteria to grow and making them stinky. Making the pad with one open end means after washing and drying you can turn your pad inside out so the uhual is on the outside and air dry it the rest of the way or throw it back in the dryer. Because the uhaul is sewn into the pad the lint isn't going to get all over the outside of the fleece. These can also be hand washed and air dried, since the two layers of uhaul are not touching when you invert the case, these pads will air dry almost as fast as a single layer of uhaul in a sewn pad.
Also, with these pillowcase style pads you can stuff them with extra absorbency layers and/or a coroplast insert (like a regular fleece flipper). This style also shows an additional fold over flap on each side which discourages burrowing and makes a nice tight finished product. If you want your pad to be double sided you need to do both flaps, if you want your pad to be single sided you only have to do one flap on one side.
How to start....
1. Pre-wash and pre-shrink your uhaul and fleece for best results.
2. Cut your pre washed and preshrunk fleece to the sizes you need for your project.
You need two layers of fleece, they can be the same pattern (as shown) or two different patterns.
Important information to know on how many extra inches to add:
FOR THE UHAUL: you are going to cut the size to whatever size your project needs to be plus add extra inches for the seam allowance, going up the cage if it's a full cage pad and for turning. I usually add about 3" for all that.
FOR THE FLEECE (CUT TWO OF THESE):
For the width you need to take into consideration adding extra inches for turning the pad, for the seam allowance and forsizing it if you want it to run up the sides of your coroplast an extra inch. This will also be determined by if you intend to stuff your case with coroplast. You wouldn't want it to run up the sides of the cage in that case it would need to fit the bottom of your coroplast perfectly because then you wouldn't add as much to the final size. If you are confused about this post a question about your project and we can help you with how to measure and how much to add. These measurements are especially important for making homemade flippers with coroplast inserts.
For the length: You will need to add the same amount as you do for the width and then an extra 3"-6" more for the flaps. The bigger the pad the more flap length you want. A small lap pad would use about a 3" flap, A 1x2 size pad would need about a 4" flap, A full cage pad could go as much as 6". The wider the flap, the nicer it will hold. Sometimes you don't have enough yardage so in that case you gotta do what you gotta do, it's more important that it fits your cage well, you don't want it to be too short.

Here is how you layer it all together for sewing: from the bottom up (uhaul/uhaul/fleece good side facing up/fleece good side facing down)
First start with your layers of uhaul. You can use one or two layers but the point of making this in this style is so you have two layer and can stuff with extra if you need to. So place the layers as follows:
Two layers of uhual at the bottom with one layer of fleece on top. The fleece should be good side facing up. Line up the fleece so it is flush on all 3 sides and then fold over the extra material that will be come your flap as shown:

3. Pin it all together.
4. Start sewing. Put this folded over right corner in your sewing machine and stitch it from this corner all the way around. Backstitch several times when you start and when you end:

5. Trim up your edges. I usually leave about 1/4" from the stitch line:


Here is what it looks like from underneath when the flap is folded over:
You can take the time and finish these ends nicer than I did, since this is just a simple sample pad I didn't bother but you could turn the edges before you put it together so they are nicer.


Here is what it looks like when you invert it for faster drying.
A note on drying:
Washing and drying your pad with the fleece out keeps the lint way down since uhaul padding is super linty in the beginning. After you wash and dry it flip it inside out and let it air dry the rest of the way if it needs to. You can also just reach an arm in there and feel and see if it's fully dry. It probably isn't fully dry with just one cycle out of the dryer. By inverting the pad it will dry much faster! You can even air dry this entire thing fairly quickly if you don't have a dryer. Invert the pad right out of the washing machine and lay in a sunny window.
If your pad is particularly dirty do a presoak layer and/or invert the pad before washing to separate the layers. I usually try to avoid inverting the pads when they are dirty because i don't want to touch the nasty but if your pad is particularly fowl you might want to do that. If your pad is not fully dry do not put it back in the cage before it dries. If you do it may grow bacteria and get very stinky.

Presoaking your pad with a blast of dish soap and a cup of vinegar will help strip the pad, both before use and during normal cleaning. Never use fabric softener when you wash your pads. It will effect the wicking ability of the fleece.